How-to undermount your sink!
A how-to-guide for undermounting your play kitchen sink
Starring our Undermounting Sink Clip Pack!


This is definitely one of the simplest ways you can change the look of your play kitchen, not to mention, it will stop your little one taking out your freshly spray painted sink a million times a day ;)
All you'll need to do this is our undermounting sink clip pack, a pencil and a hammer. Super simple.

Now, you can either do this while building your kitchen, but it's also easily done after your kitchen is assembled. If you are building your kitchen from scratch, we recommend doing this whilst hammering the plastic corner pieces into the countertop. Otherwise, simply remove the top section of your kitchen and then remove the countertop from the bottom half and flip it over.
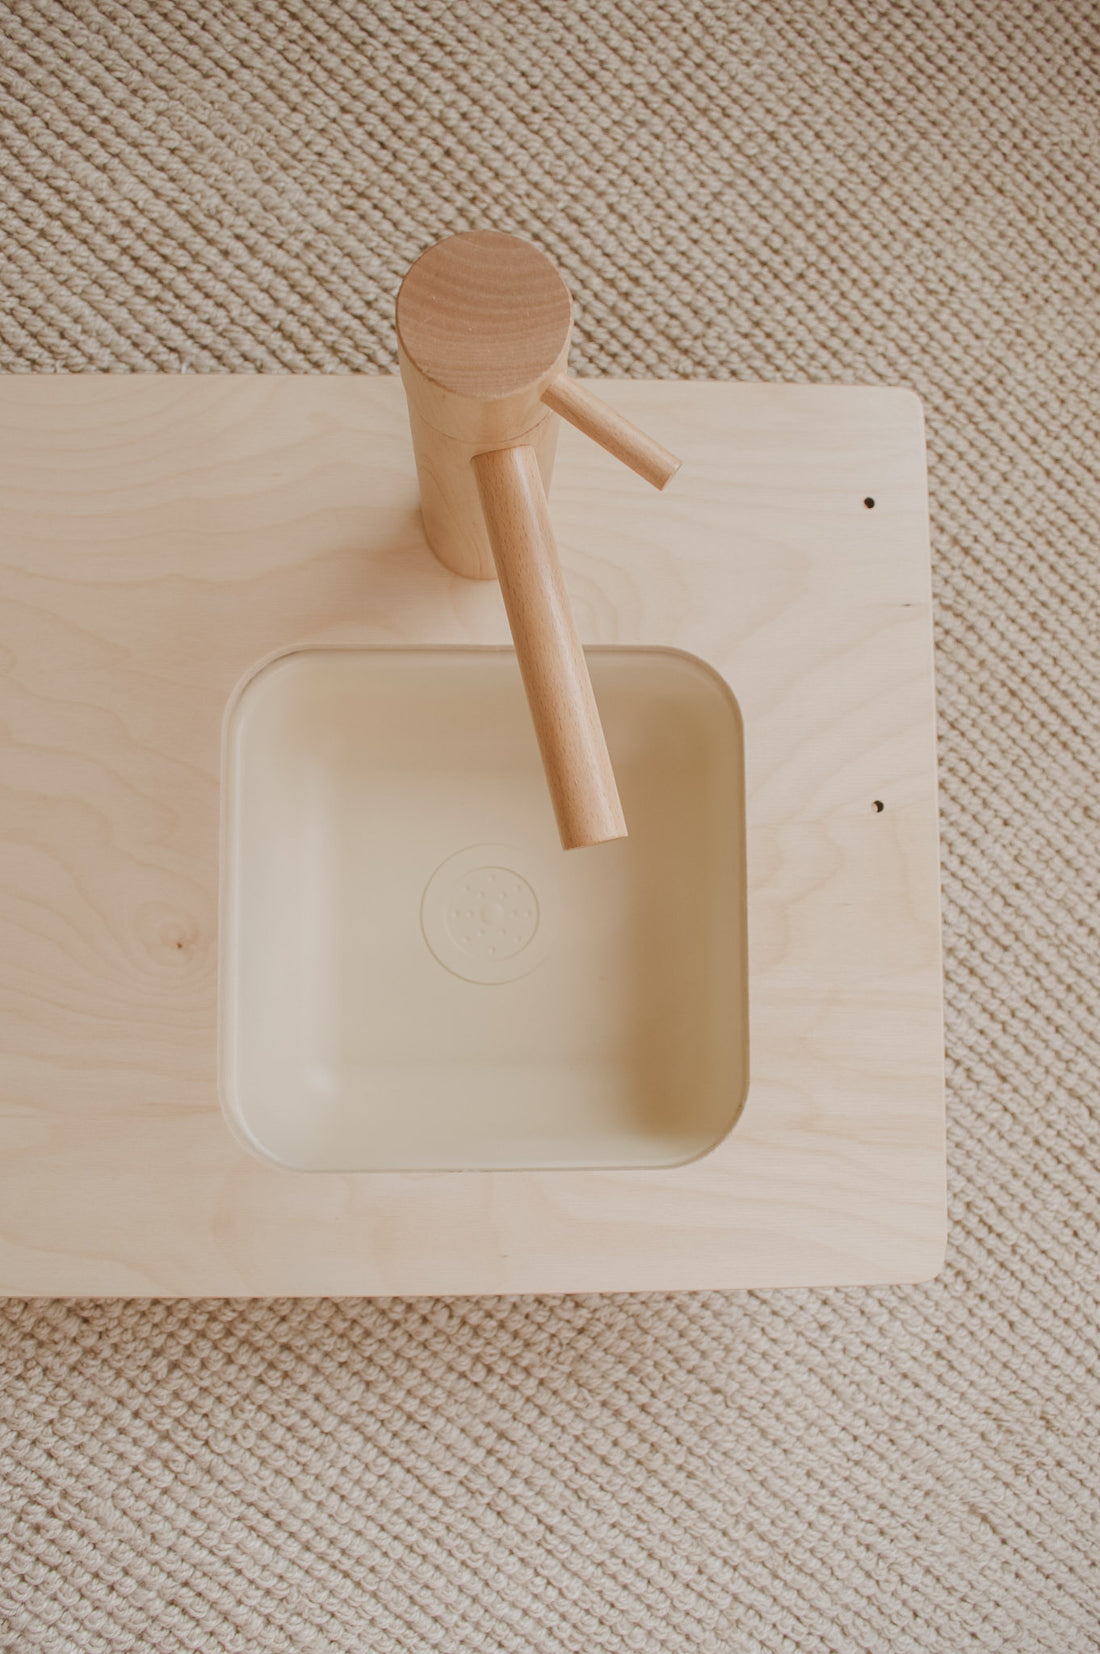
Place the sink over the sink hole, line it up so that when you turn it over there are no gaps on any of the sides.

Once the sink is in the right spot, with no gaps, use your pencil to stencil around all 4 corners. This will make sure the sink remains in the right spot while you instal the clips.

Place a clip over the lip of the sink, so that the little nail is pointing down at the countertop and the clip is over the sink edge.

Use your hammer to nail in the nail 3/4 of the way in. The clip should be firm over the sink edge.

Repeat on all 4 sides of the sink.

TA DA!

