How-to add a splashback!
A how-to guide for adding a splashback to your IKEA Düktig play kitchen
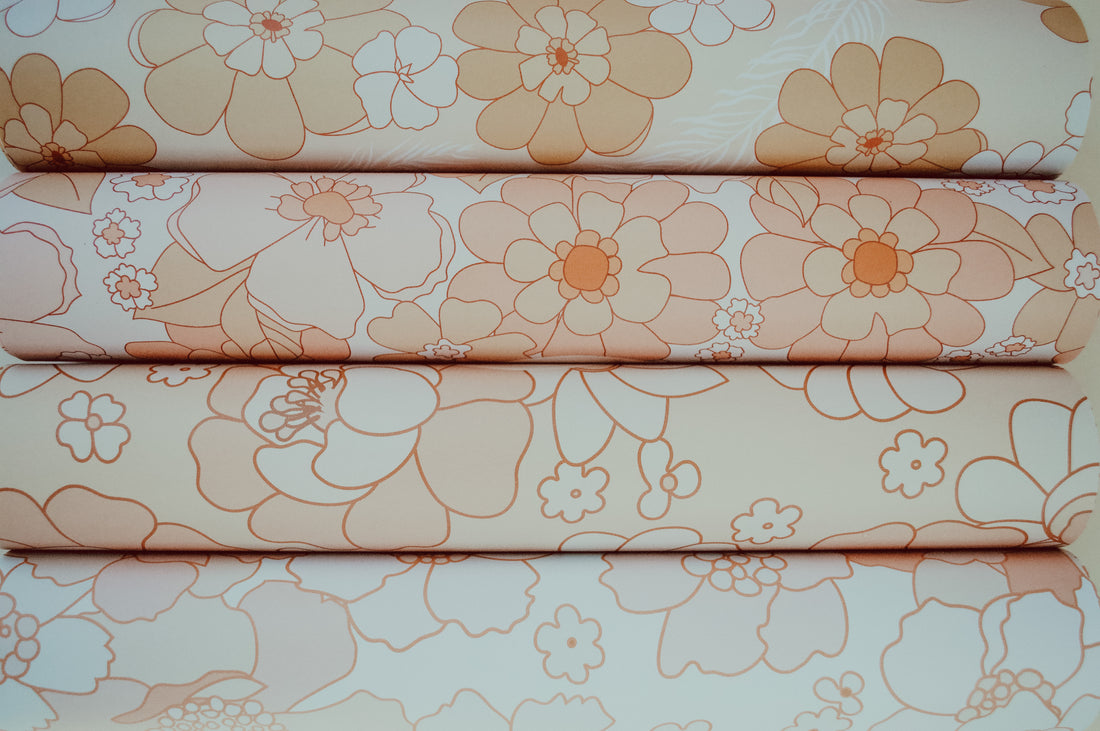
Starring our reusable, peel and stick wallpaper of course...

When I first tackled the IKEA Düktig I'm not ashamed to admit I was way over my head. There were so many different ways to 'hack it' and it left me unsure and confused! Take my trial and error and use it to your advantage honestly haha!
The IKEA Düktig doesn't come with a splashback, so you will have to make one. But you've come to the right place because now that I've messed it up 5 times and finally worked out what works, yours should be super simple!
FIRST THINGS FIRST
Choose your materials!
The splashback can be made from MDF, Plywood or Corflute board: all of which are available at your local Bunnings or Home Improvement store.
The main differences between them are going to be how easy they are to cut to size and then the strength of them once installed.
If using MDF or Plywood I would ask to have them cut to size whilst still in the store, saves you needing a saw and a clean up session!
These options will be stronger once installed being solid wood..
Corflute Board on the other hand is really cheap, you can cut it with scissors in the comfort of your own home and 1 board should yield you THREE splashbacks!
We used this to our advantage because it means we can change the splashback design whenever we are feeling like it!
You'll now need to measure out the length and width of the splashback onto your chosen material. I recommend using a pencil if you are doing this at home, and using the already cut edges so you only need to cut two sides.
The splashback size needs to be:
32cm High
68cm Long
This allows for a 1cm overhang above and on either side of the wallpaper so that it can be attached to the back of the kitchen.
If using Corflute Board, use either a stanley knife or pair of scissors to cut out the traced backsplash. If using MDF or Plywood you will need something slightly sharper!
Take your time, you want it to be as straight as possible. Once you've done that, place it at the back of the IKEA kitchen and make sure its all straight and aligned.
Use the straightest edge for the bottom of the splashback.
Then, using your pencil, mark 1cm in from the top and sides of the splashback board and trace a line across the top and sides of the board.
Our peel and stick wallpaper will sit within these traced lines!
IT'S WALLPAPER TIME

You should now have three straight lines making a 'box' on the splashback board for you to stick our wallpaper within.
Simply unroll our wallpaper, peel the white backing sheet away from the wallpaper by approximately 10cm, line up the edges with the bottom of the board and your traced lines and simply peel, stick & smooth!
You can reposition the wallpaper as many times as you need until you get it perfect..
THE FINAL STEP
Attaching this bad boy to the Düktig kitchen! Woo, the end is in sight!
It's completely up to you how you attach it, and the material you used for the backing board of course! If you used MDF or Plywood you can either nail or screw the board directly into the back of the kitchen! If you went with Corflute Board, you can simply use tacks, nails, hot glue or even double sided tape.
We used velcro strips so that we could constantly change the splashback without needing to reapply our wallpaper! Makes it a cinch.
I hope this has saved you some time and frustration!
Follow us @petitabode on Instagram for more makeover inspiration <3
